Introduction
This article provides step-by-step instructions for performing receipt adjustments, including pre-End of Period (EOP) voids, post-EOP voids, refunds, wrong item adjustments, and wrong customer adjustments. Each section includes images and details to guide you through the process.
TABLE OF CONTENTS
Pre EOP Void
- From the Main Menu, select Functions, then click Adjust Receipts under the Adjustments header.

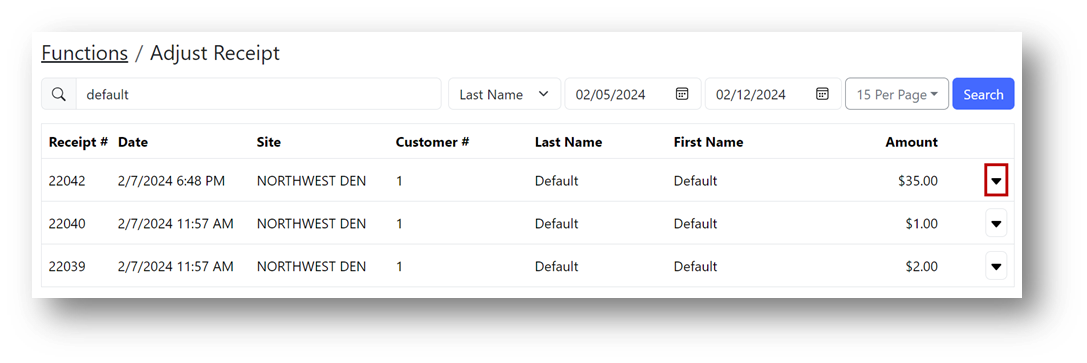
- Use the Search Field to locate your receipt by choosing one of the following options:
- Receipt #
- Customer #
- Last Name
Note: If searching by Customer # or Last Name, enter the appropriate date range in the Starting and Ending date fields to see all available receipts.
- Enter the required information based on the selected search method.

- Click the down arrow for the receipt you wish to adjust.
- Check the box(es) for the item(s) you wish to void.

- Click Void.

- Click Next.

- Enter a memo explaining why the receipt is being voided.
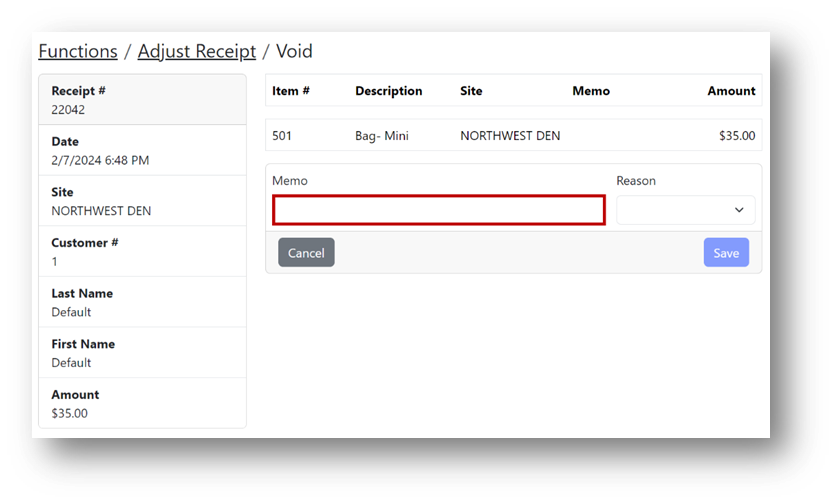
- Select an appropriate Reason Code from the dropdown.

- Click Save.

- Select to print and/or email the receipt (marked in blue), then click Done (marked in red).

Post EOP Void
To complete a post-End of Period (EOP) void, which refunds to the original tender type used, follow these steps:
- From the Main Menu, select Functions and click Adjust Receipts under the Adjustments header.

- Repeat the same process as the Pre-EOP void until reaching the Void confirmation screen.