Mass emails allow users to send emails to a large group of students/customers and/or their guardians in reference to unpaid fines/fees, negative balances, and other messages.
TABLE OF CONTENTS
Sending a Mass Email
- From the Menu, select Functions.
- Click Mass Email under the Email header and the Mass email screen will be displayed.

- Under the Criteria header, select the following:
- Type of email options:
- Unpaid Fines/Fees
- Unpaid Fines
- Unpaid Fees
- Negative Account Balance
- Message
- The site that you are pulling your customers or group from.
- Select your Customers options:
- Student, Non-Students, or All Customers
- Active, Inactive, or All Statuses
- All Grades or Particular Grade
- Customer Group
- Enter a date range, or leave blank for all fines/fees owed.
- Select your item or item group or leave blank for all items.

- Type of email options:
- Under the Message headers, select who the email will be sent to:
- Customer (student)
- Guardians
- Customer (student) & Guardians
- Primary Guardian
Note: You can Cc or Bcc someone in your district.
- Enter a subject line.
- Enter the body of the email.
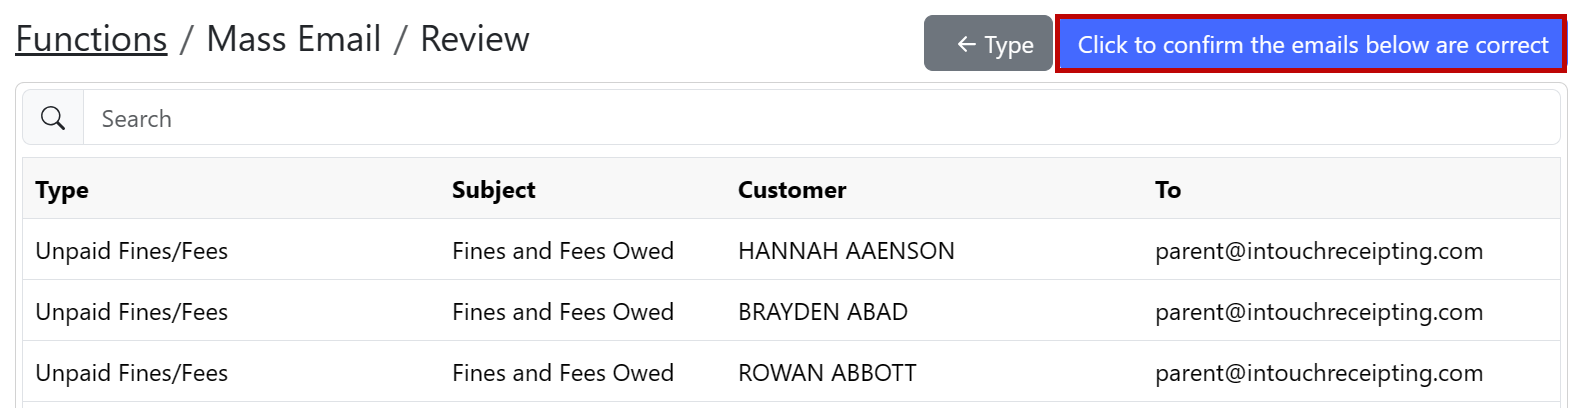
- Click Review at the top right of the screen.

- Review the list of emails that will be sent and click Click to confirm the emails below are correct.
- Once confirmed, the confirmation button will turn into a red save button. Click save to send.
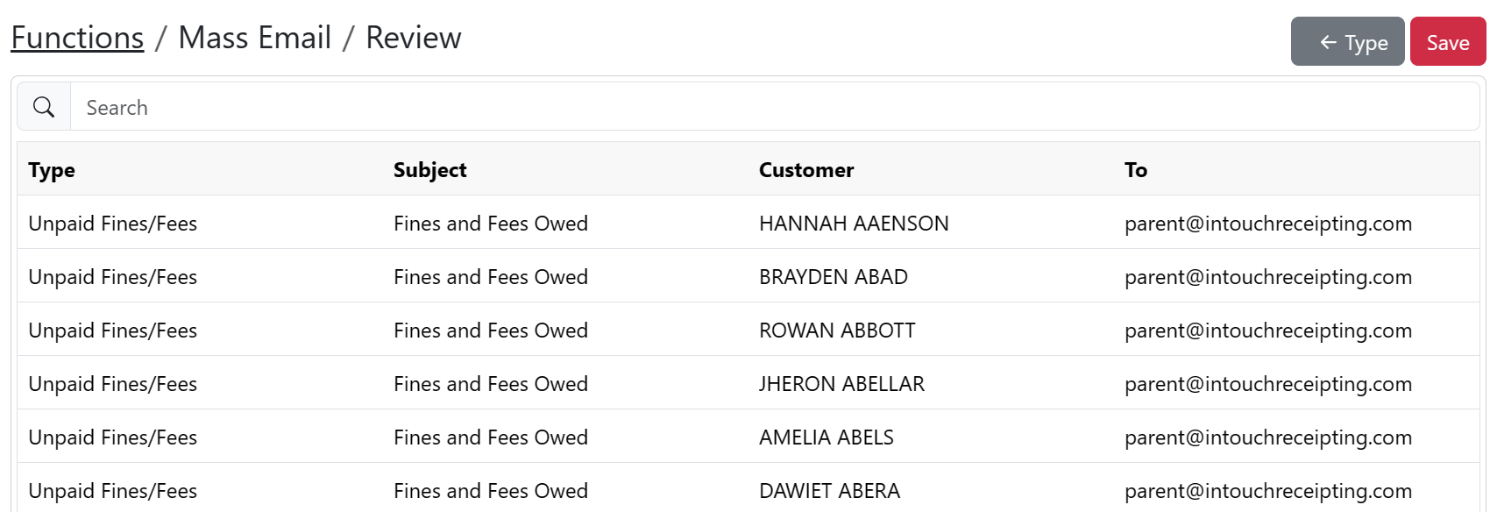
Note: You will receive confirmation that your selection is saved at the top of your screen.
Viewing the Email Log
The Email Log Viewer will show you the emails that were sent and the status of the emails. The email status will change upon delivery/failure of delivery.
- From the Menu, select Functions.
- Click Email Log Viewer under the Email header.
- Statuses:
- Accepted = Delivered and read
- Delivered =Successful delivery and unread
- Failed = Undelivered
