Item Groups are groups of items that are created to use for things like fining/feeing students and attaching to Payment Pages.
Creating Item Groups
- From the Main Menu, select Inventory.

- Click Item Groups.
Note: If you have access to multiple sites, select the Site you are creating an item group for from the dropdown.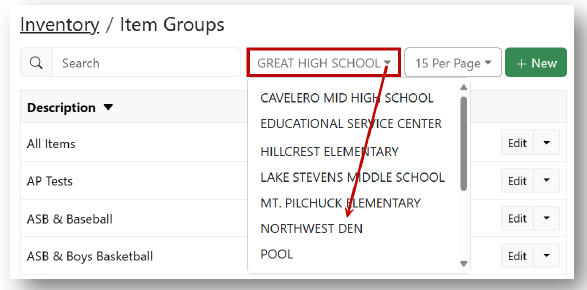
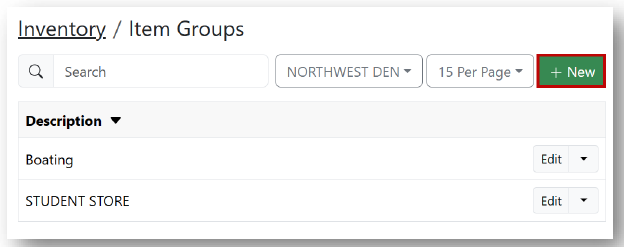
- Create + New.
- Under the Details tab, enter a name for your Item Group.

- Under the Items tab.
Note: If you have access to multiple sites, select the site from the dropdown.
- Choose your items to add to the group.
Note: You can select items individually or select multiple items at a time.
- When you have made your selection(s), click Add.
Note: Once you click Add, the items will appear on the right side of the screen.
- Click Save.